Building an Abacus Layer for the Tenori-ON
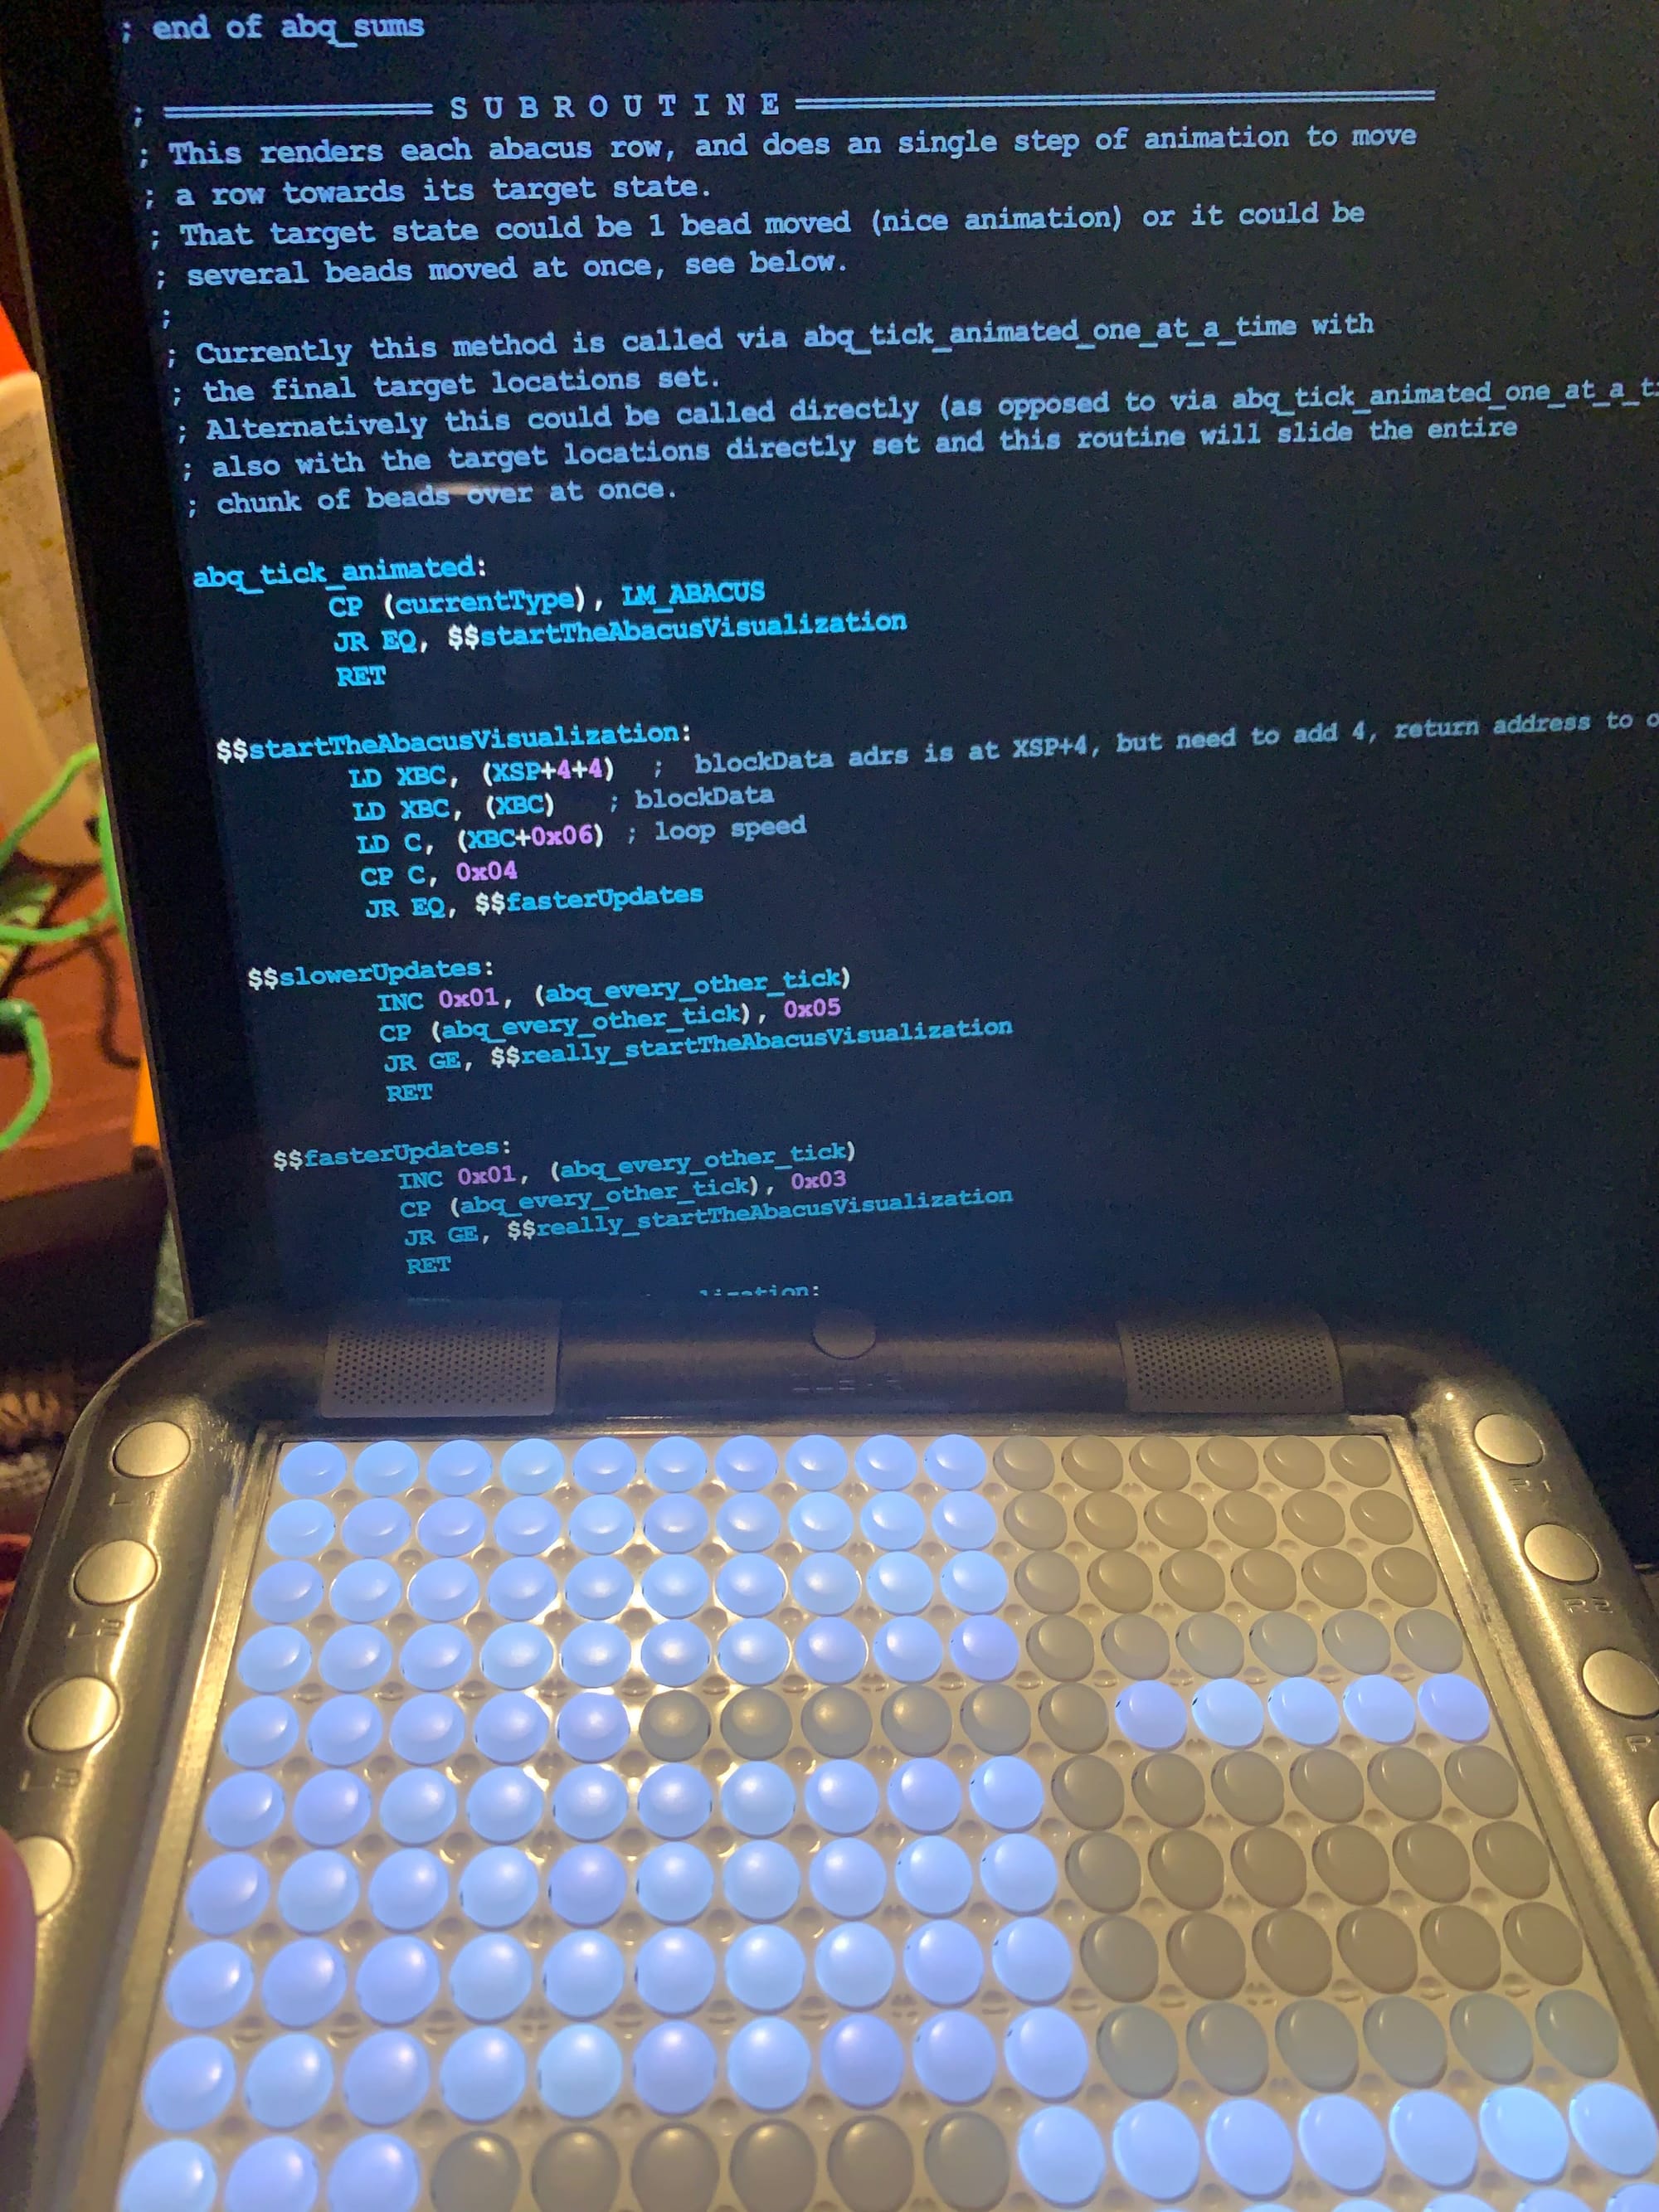
The instrument
The Tenori-ON (2007) is a digital musical instrument designed by multimedia artist Toshio Iwai in collaboration with Yamaha. An excellent [UCLA lecture by Iwai](YouTube link) lays out where his ideas come from.
In that lecture, two threads stand out. The first is a deep appreciation for spatio-temporal sequencing of sound and image — at one point he disassembles a music box and reverses the metal music sheet to change the melody. The second is his own admitted lack of proficiency on conventional instruments like guitar and piano. Fascination with music, plus an inability to play the instruments that already existed: that combination seems to have driven much of what he built.
Why custom firmware
The Tenori-ON is discontinued and only available used. The last official firmware, 2.10, was a significant improvement — but the hardware clearly had more in it than had ever been implemented.
Around 2020 I ran across pika.blue’s custom firmware. The unlocked capabilities impressed me, and I had a few ideas of my own. pika suggested I’d have no trouble experimenting with the code, since I’d worked with x86 assembly before (as a kid, but still). The Tenori-ON runs on a Toshiba TLCS 9000, so the assembly language is quite different from x86 — but pika was right, and it clicked fairly quickly.
One caveat about the work: the original firmware was presumably written in C, but we don’t have that source. Everything happens in assembly, against a reverse-engineered and decompiled listing.
I started with a few features aimed at UX:
- R1 copy — quickly copy information from one layer to another.
- Octave split for the push layer — reach 3 octaves inside a single layer instead of 1.
- A stack debugging view on the green LCD panel, which turned out to be invaluable for development.
An iterative step toward a tape delay echo
For a while I was enamored with the idea of adding a tape delay echo effect. After several design discussions with pika over email and some helpful orienting, I got started.
What came out of that was the Abacus layer type. It was meant as an intermediate step toward the full echo effect, but it turned out to be fun and useful on its own. The abacus representation was a nifty way to visualize the memory holding played notes as they faded out. To turn it into a real abacus, all I had to add was bidirectional movement of that memory.
Laying out the memory
There are 16 rows, so I needed 16 slots of each kind of data:
ABQ_BEADS                 equ 0x0000
ABQ_BEADS_CURRENT_TARGET  equ 0x0010
ABQ_BEADS_FINAL_TARGET    equ 0x0020
ABQ_ANIM_STEPS            equ 0x0030
ABQ_ROW_VOLUMES           equ 0x0040
ABQ_UPDATE_SKIP_CTRS      equ 0x0050
ABQ_ANIM_SKIP_CTR         equ 0x0060
These get cleared when the layer starts up:
    LDA XDE, XHL+ABQ_BEADS
    LDA XIX, XHL+ABQ_BEADS_CURRENT_TARGET
    LDA XIY, XHL+ABQ_BEADS_FINAL_TARGET
    LDA XBC, XHL+ABQ_ROW_VOLUMES
    LDA XWA, XHL+ABQ_UPDATE_SKIP_CTRS
    ; 0x0060 is abqLayerAnimSkipCounter

    LD  HL, 0x0000
$$clearEachRowAbq_LayerMemory:
    LD  (XDE+HL), 0x00
    LD  (XIX+HL), 0x00
    LD  (XIY+HL), 0x00
    LD  (XBC+HL), 0x0F
    LD  (XWA+HL), 0x01
    INC 0x01, HL
    CP  HL, 0x0010
    JR  ULT,  $$clearEachRowAbq_LayerMemory
Handling a tap
When the user taps an LED, I compute where the LEDs need to end up — the target state — based on where they are now. The layer then evolves toward that target on each tick of the instrument, emitting a fading sound at every tick.
Here’s the code that works out what should happen on a given tick.
One note on style: I use inline addition when loading parameters on and off the stack (XSP+8+4, XSP+8+2). It keeps things flexible in case I need to add another PUSH or POP higher up.
abq_ledOn:        ; DATA XREF: DATA:00CB5DD2
    PUSH  XIZ
    LD  XBC, (XSP+8+4)      ; Get blockData adrs is at XSP+??
    LD  XBC, (XBC+4)         ; Get blockData+4 which is blDataA (pointer to notes block)
    LD  IZ, (XSP+8+2)     ; Row number
    LDA XDE, XBC+ABQ_ROW_VOLUMES
    LD  (XDE+IZ), 0x0A
    LDA XDE, XBC+ABQ_UPDATE_SKIP_CTRS  ; Location of abqRowUpdateSkipCounters in blDataA
    LD  (XDE+IZ), 1
    LDA XDE, XBC+ABQ_BEADS_CURRENT_TARGET  ; abqBeadSplitTargetLocations
    LD  A, (XDE+IZ)                     ; Immediate (Short term) Target Location for in-flight bead
    LDA XDE, XBC+ABQ_BEADS      ; Array into Number of beads on the right <-- Animation mode
    LD  (XDE+IZ), A                     ; Force the current location equal to the short term target location  <--

$$launchNextAnimation:
    NEG A
    ADD A, 10   ; Number of beads on left
    LD  W, (XSP+8)  ; Tapped column number (bead location-1)
    CP  W, A
    JR  LT, $$setLeftToB

$$setLeftToBMinus5:
    SUB W, 5
    CP  W, A
    JR  LE, $$done

$$setLeftToB:
    NEG W   ; Convert number of beads on left into
    ADD W, 10           ; number of beads on the right.

  ; The final target locations are used by abq_tick_animated_one_at_a_time from blockJumpTick and abq_sums
    LDA XDE, XBC + ABQ_BEADS_FINAL_TARGET  ;   abqBeadSplitFinalTargetLocations
    LD  (XDE+IZ), W           ; Write new number of right beads to memory

$$done:
    POP XIZ
    RET
Drawing it
From there it was a few simple graphics routines to draw the abacus rows, plus a bonus: pressing L4 displays the sums — the bead counts on the left and right sides.
The result is pretty fun:
[VIDEO]
Conclusion
Iterative development is my default mode of operating. It is especially rewarding when the artifacts you produce along the way are useful in their own right. Designing the UI in parallel with the assembly implementation was great fun too.
Getting this working took many round trips to the device. In a future post I’ll write about a side project aimed at cutting that loop down: Tenori-SIM — a project I started 5 years ago and have nearly completed — which emulates a minimal set of Tenori-ON functionality to speed up layer development.